Suffice to say the tube had suffered a lot of cosmetic damage over the years, but nothing terribly serious. The felt (or rather, the pitiful remains of felt) lining the rings which hold the optical tube assembly (OTA) to the mount had actually bonded with the paint on the tube. When I opened the rings and tried to remove the OTA, the process actually peeled some chunks of paint away--as well as a 1"x2" piece of the sonotube OTA's outer layer. The depression wasn't huge, really, but it may as well have been a crater to me. I trimmed it back some and glued it into place. Ugly, yes, but hopefully all will be made right in the end.
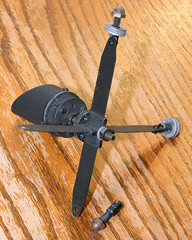
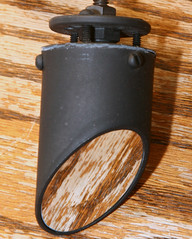
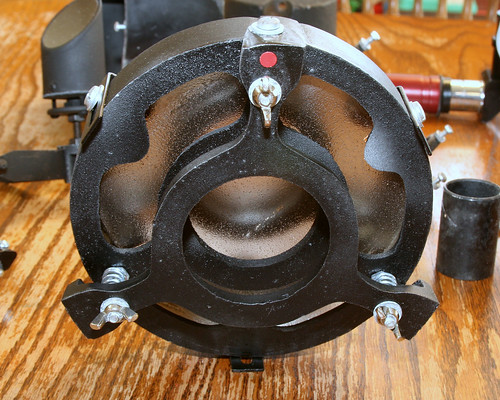
That out of the way, I turned my attention to the disassembly of the OTA. The tube is in serious need of repainting, and probably the worst thing I could do to the optics would be to try and repaint the thing with everything in place and in danger of getting big blobs of paint on them. One of the bolt/brackets attaching the spider (the assembly which holds the secondary mirror) to the OTA snapped a few years ago during a move, so that needs to be replaced. Fortunately, the three remaining bolts unscrew easily enough and I'm able to remove the spider successfully. There's a significant amount of paint flaking and peeling from the spider, but no serious corrosion anywhere. I could probably justify replacing the spider, but its in good enough shape that this feels more like an extravagance. Below is a shot of the spider, a close-up showing the paint flaking and mounting cracks, and finally one of the secondary mirror itself. Happily, the mirror looks to be in almost perfect condition.

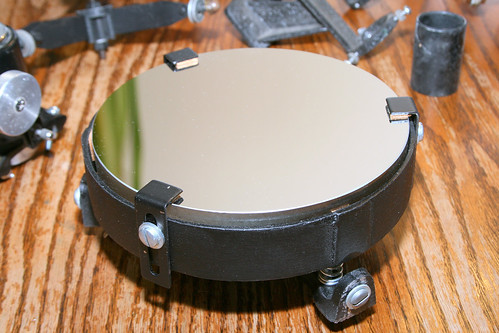
The focuser and spotting scope come off next, and then the primary mirror. The screws come out of the primary mirror assembly easily enough... but the mirror doesn't budge. I've never taken it out before, and it had probably remained there, unmolested since it was first installed at the Meade factory. It took a bit more muscle than I was expecting (or entirely comfortable with applying) but finally the mirror assembly popped out. I was quite happy with what I found. Other than an accumulation of dust, the mirror looks in prime condition. Other than the broken piece of the spider, the OTA components are in great condition. I mean, just look at this mirror:
So now comes the actual restoration. The inside of the tube, originally painted flat black, has become more like a dark gray over the years. I don't feel all that comfortable (or enthusiastic) about repainting the inner tube, so I ordered flocking material from Protostar. Since my 645 is a 30" tube, their "cut from the roll" option was perfect for me. The flocking came in the other day, and I laid it inside the tube for a sort of dry run. Perfect fit, with a 2" overlap at the edges. I'm feeling good about this choice.
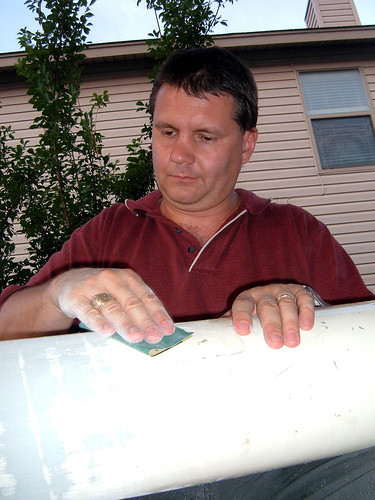
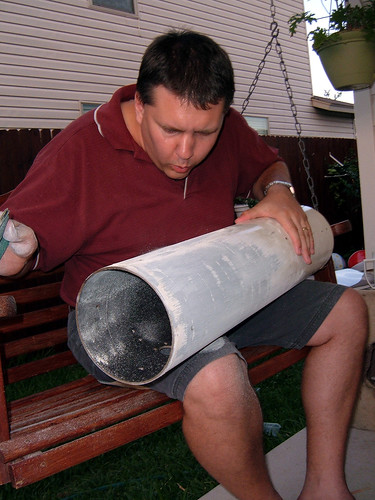
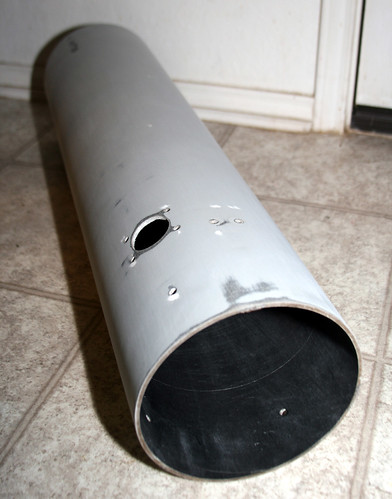
Before I can flock it, however, I have to repaint the tube. Before I can repaint, I have to sand it down. So I set to work with 80 grit sandpaper. It was very dusty work, I can assure you.
Amazingly enough, the paint came off with considerably less effort than I expected. For the various nicks and gouges too deep to be painted over, I used carpenters wood putty to fill in the gaps, and also applied generous amounts around the wounded area I mentioned above. After letting it dry overnight, I sanded everything smooth with 220 grit paper.
Get used to the phrase "then I sanded it down..." because it's a recurring theme. Once I finished and had the putty smooth and flush, it was time to apply primer. I ran a wooden dowel through the tube, packing crumpled newspaper around it so that I could suspend the tube between two saw horses and rotate it as I painted. I sprayed on two coats of primer, and let it hang in my office to dry.
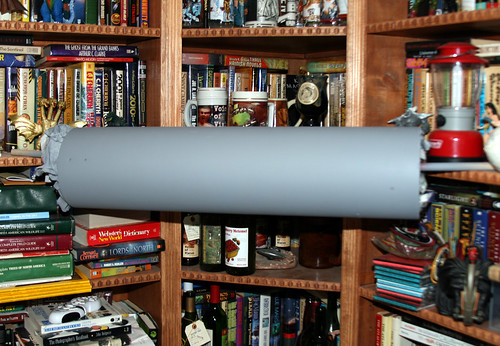
Next time, we'll discuss why two coats probably wasn't enough. But hey, live and learn, right?
1 comment:
I think you should use that puppy to make the King Ghidorah action figure (pictured nearby on the bookshelf) look reaaallly huge.
Post a Comment